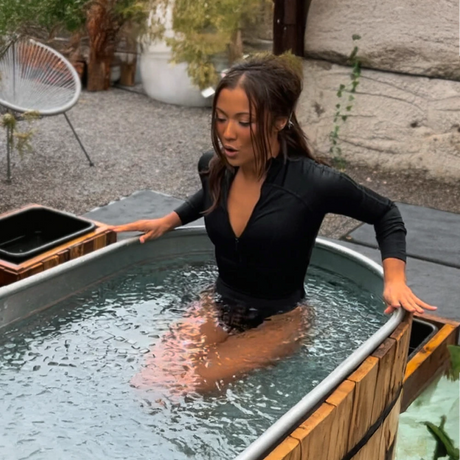


Millions of people are diving headfirst into cold water therapy—and with good reason. Cold plunge tubs, designed specifically to chill water to sub-40°F temperatures, have become a must-have for optimizing recovery, sharpening focus, and even boosting mood. Whether you’re an athlete trying to crush post-workout soreness or simply looking for a natural way to reduce stress and inflammation, a cold plunge tub might just be the game-changer you didn’t know you needed Mayo Clinic.
But here’s the catch: not all cold plunge setups are created equal. While the benefits may sound enticing, getting that perfect soak depends on how you set up your cold plunge tub. And many make costly mistakes—like unstable installations or poor location choices—that can turn their wellness dream into an expensive headache.
What you’re about to discover isn’t just basic advice on cold plunge tubs. This is your no-fluff, step-by-step blueprint to install your tub the right way, avoid rookie mistakes, and customize a setup that truly fits your lifestyle, whether indoors, outdoors, portable, or even DIY. Ready to take the plunge—and make it perfect? Let’s dive in.
How to Install a Cold Plunge Tub: Step-by-Step Instructions
Installing a cold plunge tub may seem complex, but with the right plan, you can have a professional setup in no time. Follow these detailed steps to ensure everything runs smoothly, whether you're setting up indoors or outdoors:
1. Choosing the Right Location
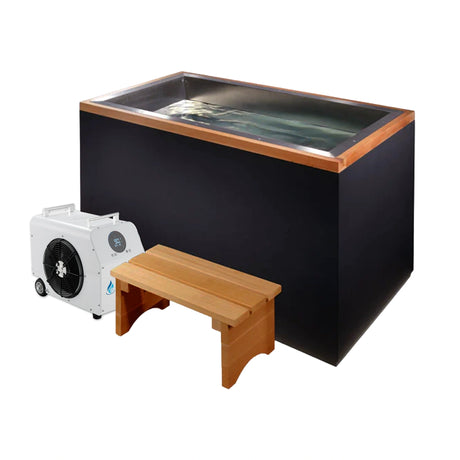
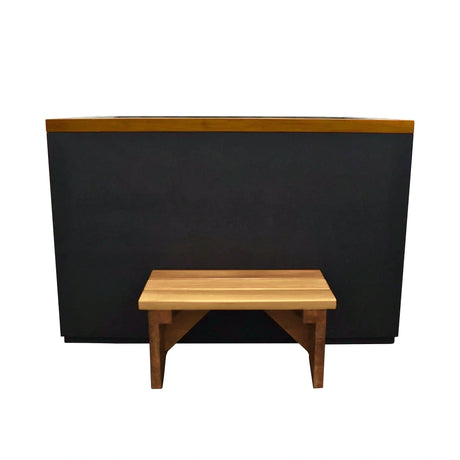
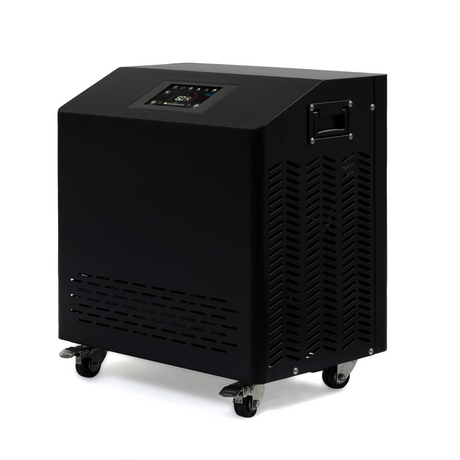
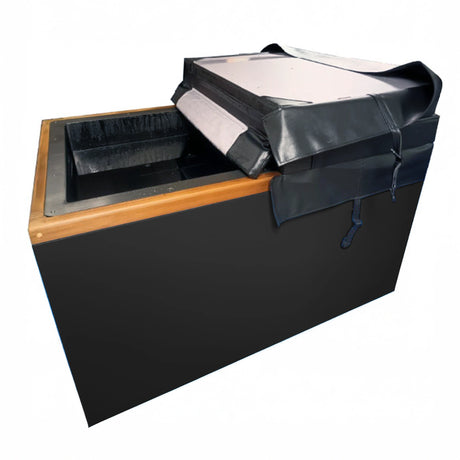
Determining the best location for a cold plunge is critical for both functionality and safety. Start with a flat, sturdy surface that can support the weight of the tub once it’s filled with water (approximately 1,000 pounds depending on the model). Concrete patios, sturdy decks, or reinforced indoor floors work best. Ensure there’s at least 16 inches of space behind the tub to accommodate the pump and chiller unit, or for airflow if it has a built-in chiller.
Consider proximity to a GFCI outlet, as this type of outlet is essential for electrical safety. Accessibility for maintenance and privacy are also key factors. If setting up outdoors, think about exposure to the elements—direct sunlight and wind may affect water temperature. For indoor setups, ensure the area is well ventilated to reduce humidity buildup.
Indoor vs. Outdoor Cold Tubs: Which is Right for You?
| Indoor Installation | Outdoor Installation |
|---|---|
|
|
|
|

2. Setting Up the Equipment
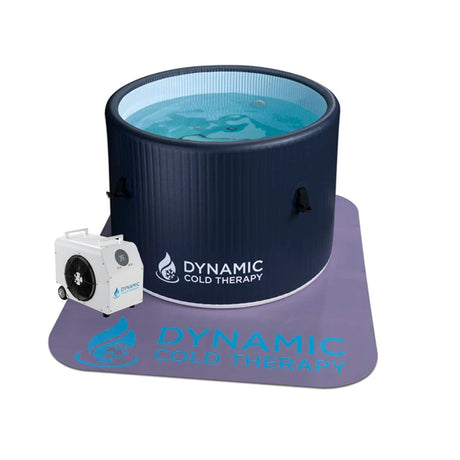
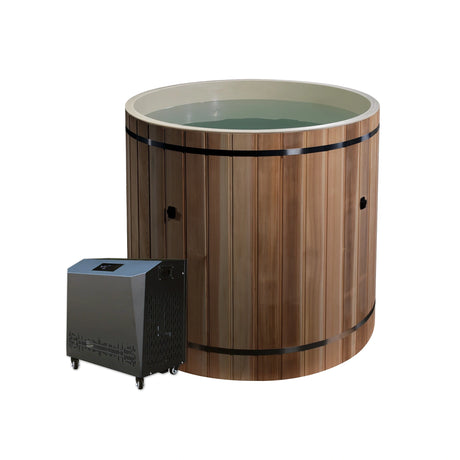
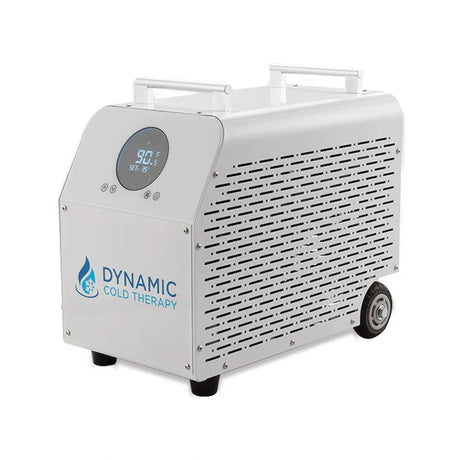
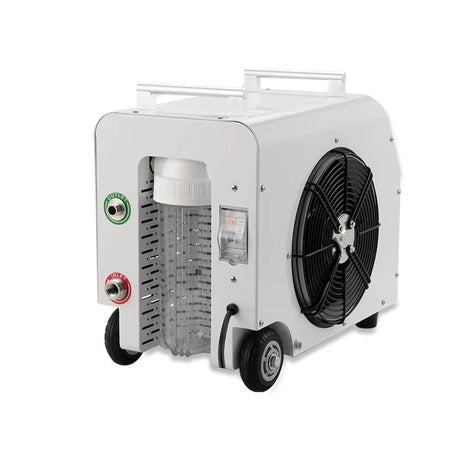
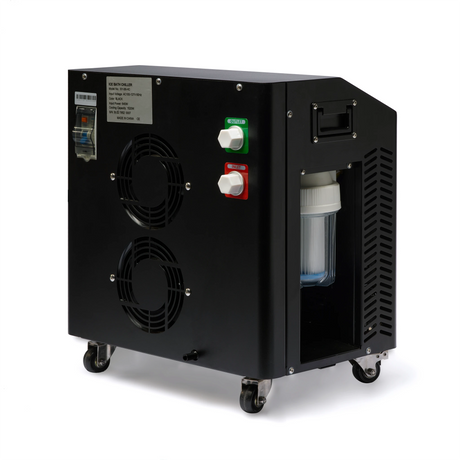
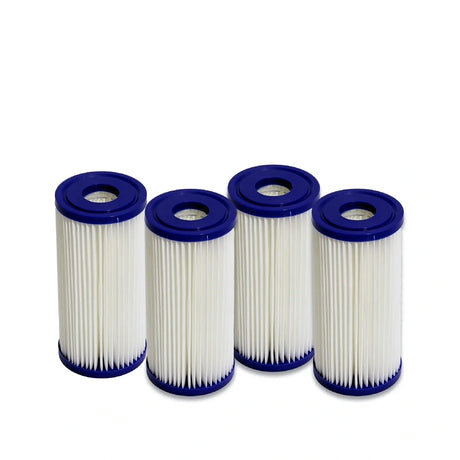
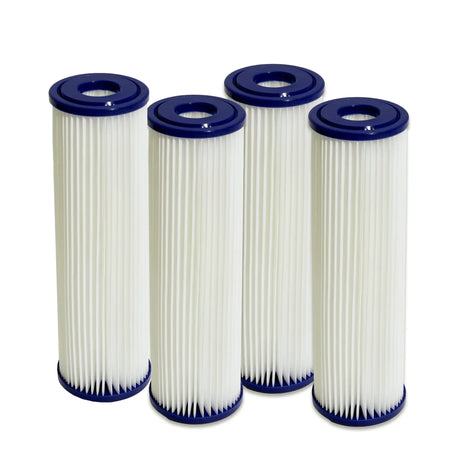
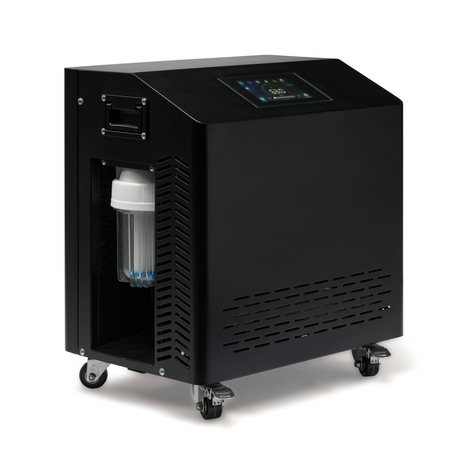
Once the location is decided, it’s time to set up the cold plunge tub itself. Begin by placing the tub in position and situating the chiller nearby. Attach the pump and filter tubes to the chiller as instructed in your specific tub’s manual. These components ensure the water stays clean and at your desired temperature.
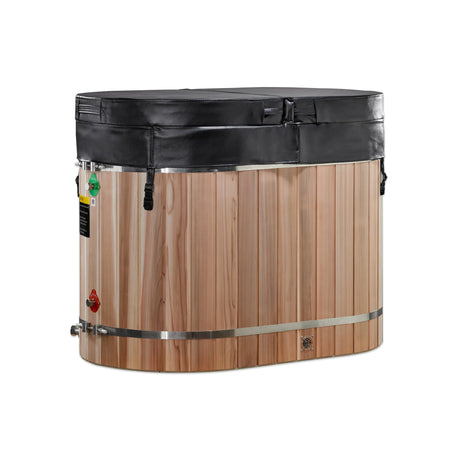
Next, fill the tub with water, ensuring you leave about four inches of space from the top to avoid overflow during use. Most cold plunge tub systems require connection to a GFCI outlet for safety. Plug it in, set the temperature, and you’re ready to go.
Pro tip: To avoid common installation mistakes, make sure the surface is capable of bearing the tub’s weight and always leave enough space for equipment access. Also, avoid extension cords to prevent electrical hazards.
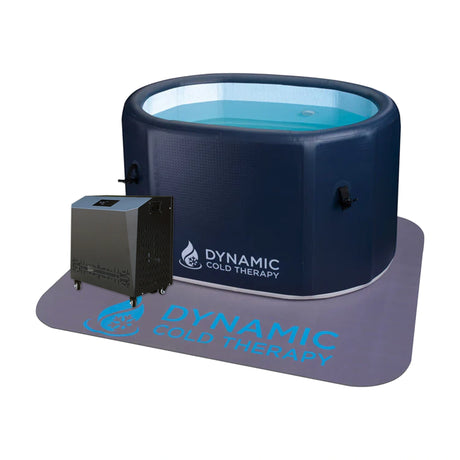
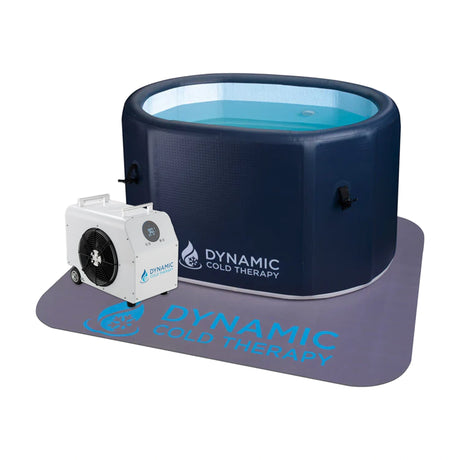
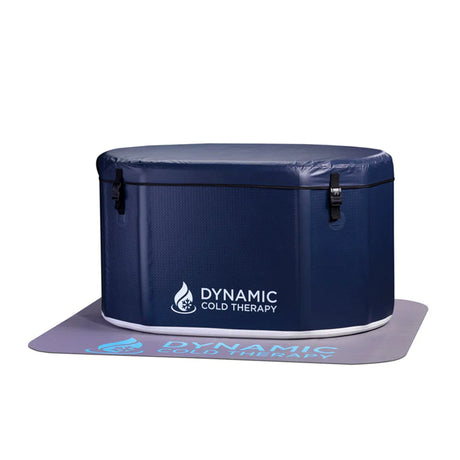
Cold Plunge Home Setup: Portable & Rental Options
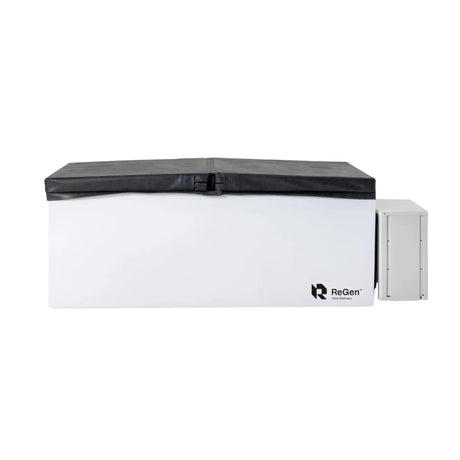
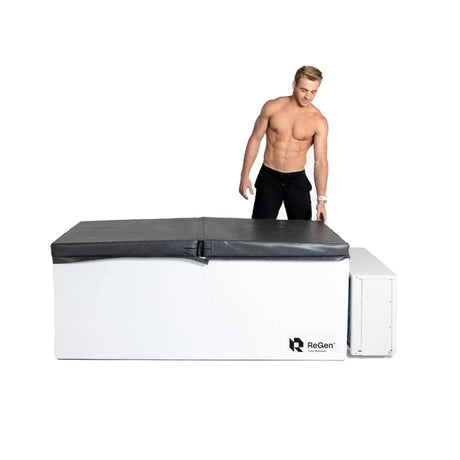
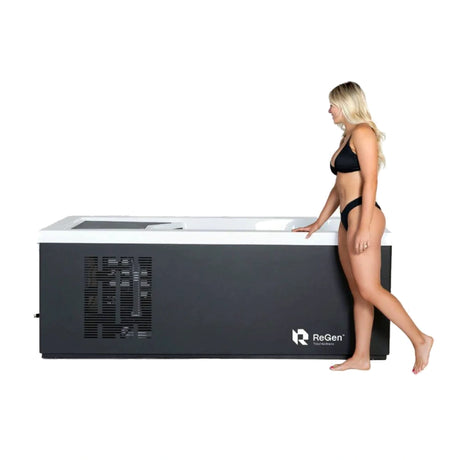
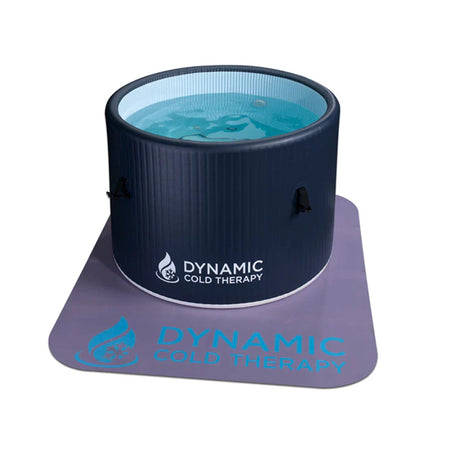
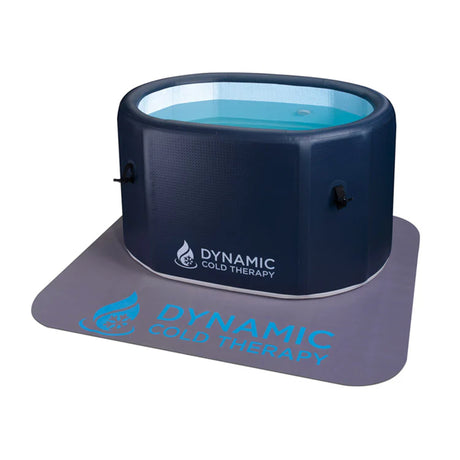
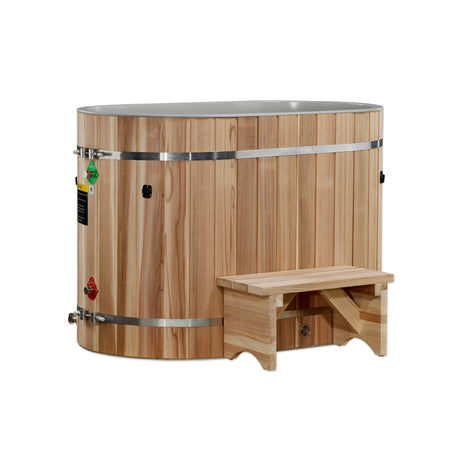
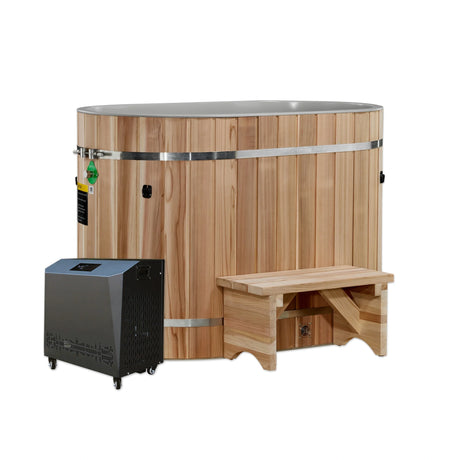
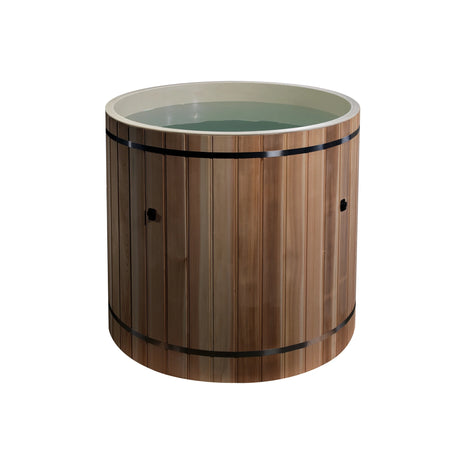
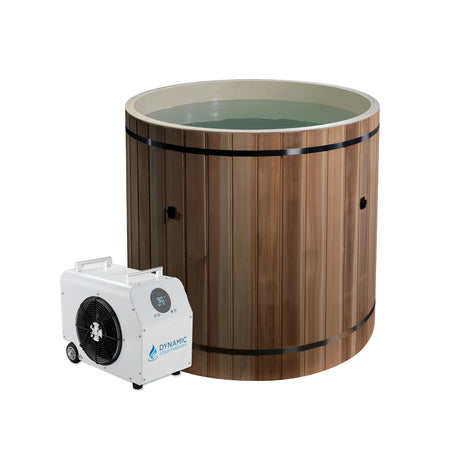
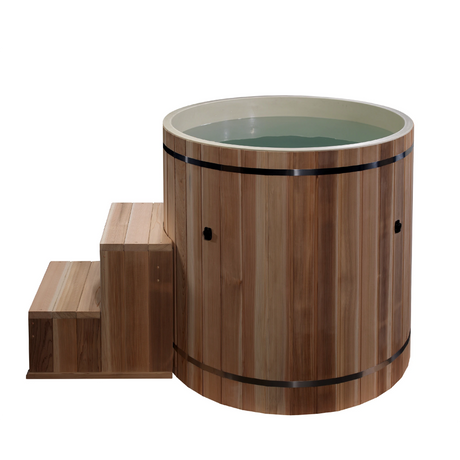
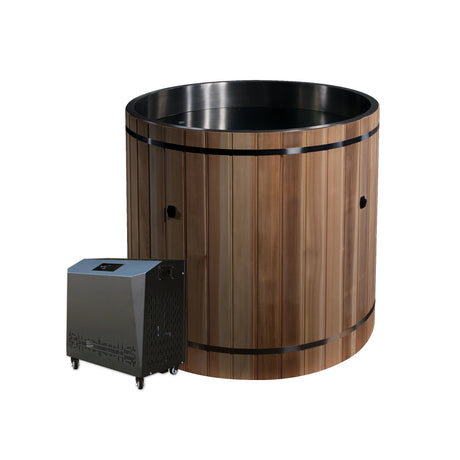
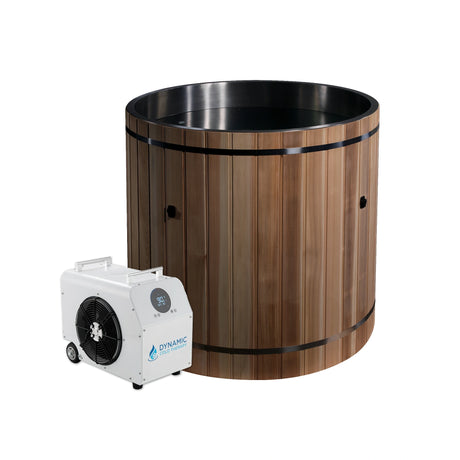
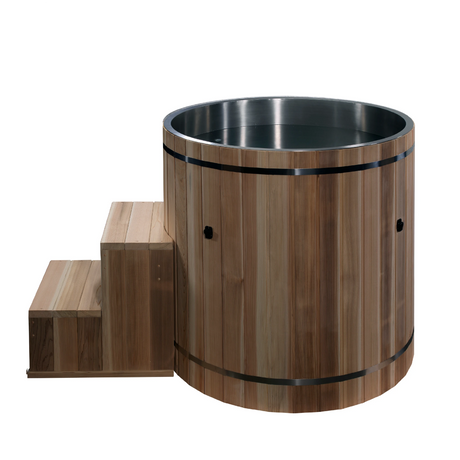
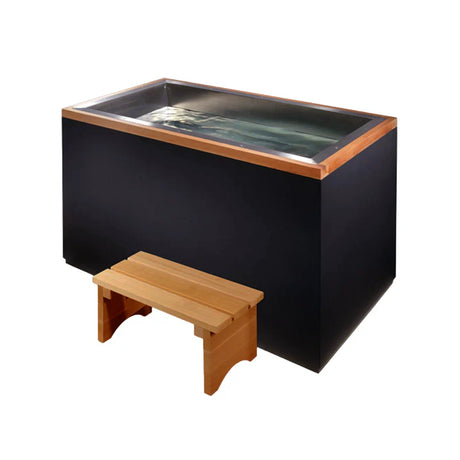
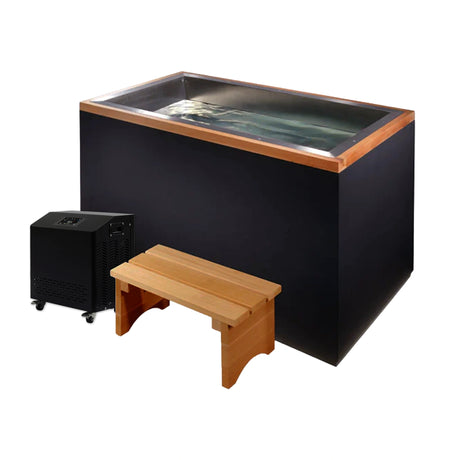
If you’re not ready for a permanent installation, a portable cold plunge tub may be the answer. These setups are lightweight, easy to install, and offer added flexibility for both indoor and outdoor use. Models like the Dynamic Cedar Barrel Cold plunge are compact, easy to store, and can be outfitted with a variety of different chiller units depending on your preference and budget.
To set up a portable cold plunge tub:
- Find a flat surface, preferably one that’s shaded if outdoors.
- Inflate the tub if required.
- Fill it with water.
- Connect the chiller unit and filtration system, ensuring all tubes are securely attached.
- Set your desired water temperature using the control panel or app.
Portable tubs are perfect for renters, those with limited space, or anyone not wanting to break the bank. Check out popular portable models like those by ReGen Total Wellness or Dynamic Cold Therapy.
Cold Plunge Installation: DIY vs Professional Setup
If you searched 'DIY cold plunge' and landed here, you're in the right place — but it's worth knowing exactly where the line is. A true DIY cold plunge setup typically means sourcing a stock tank or chest freezer, adding a submersible pump, and managing your own water chemistry manually. That works, and costs as little as $300–$500 in materials. A purpose-built cold plunge tub with an integrated chiller (typically $2,000–$8,000) requires no DIY plumbing beyond a standard 120V or 240V outlet and a garden-hose fill — but the chiller unit itself should be positioned on a level surface within 6 feet of the tub for optimal flow rate. Professional installation is generally only warranted when you're running dedicated drainage lines, integrating into an existing hot tub pad, or installing a commercial-grade unit above 1.5 HP.
If you’d rather take a budget-friendly approach, there are several DIY cold plunge ideas that offer similar health benefits without breaking the bank. Here are some creative solutions:
- Stock Tanks and Barrels: Convert a galvanized stock tank or large barrel into a cold plunge tub. Add insulation or a portable chiller to maintain desired temperatures.
- Storage Containers: Large, heavy-duty storage bins can double as cold plunge tubs when filled with ice and water.
- Natural Options: If you live near a clean water source like a stream or pond, consider using nature as your cold plunge setup.
- Repurposed Bathtubs: Install an old bathtub outdoors or in a private indoor area, and use ice or insulation to keep the water cold.
- Insulated Coolers: Repurposing a cooler is a great option since most already have insulation to help keep the water colder, longer. See a great example of one here.
When going the DIY route, sanitation and temperature control are paramount. Regularly treat the water with chlorine or other sanitizing solutions to prevent algae growth. Installing a digital thermometer can help you monitor water temperatures for safe and effective sessions.
Cold Tub Water Treatment & Maintenance Tips
Whether you opt for a portable or a permanent solution, consistent maintenance ensures your cold plunge tub performs at its best for years to come.
- Keep It Clean: Regularly clean the tub and replace or rinse the filter to avoid bacteria buildup.
- Monitor Water Chemistry: Use test strips to maintain proper chemical balance and avoid skin irritation.
- Drain and Refill: Plan to drain and refill the tub every two to four weeks, depending on use frequency.

Frequently Asked Questions about Cold Plunge Tubs
1. What are the health benefits of using a cold plunge tub?
Cold plunge tubs offer numerous health benefits, including:
- Reduced inflammation and muscle soreness
- Enhanced recovery after workouts
- Improved circulation and immune system function
- Boosted mood, focus, and stress management
- Accelerated metabolism and better cold tolerance
These benefits make cold plunge tubs an excellent tool for physical and mental performance.
2. What temperature should a cold plunge tub be?
The ideal temperature for a cold plunge tub ranges between 35°F and 59°F (2°C to 15°C). This range offers optimal benefits for recovery, reduced inflammation, and circulation. Generally speaking, the colder the better; but we recommend new users ease in and start with warmer temperatures as they learn to adapt to the cold.
3. How do I install a cold plunge tub?
To install a cold plunge tub, follow these steps:
- Choose a flat, stable surface that can support the weight when filled (approximately 1,000 pounds).
- Leave at least 16 inches of space behind the tub for pump, chiller, and airflow.
- Connect the pump and filter tubes to the chiller.
- Fill the tub with water, leaving 4 inches from the top.
- Plug the system into a GFCI outlet for safety, and set the desired temperature.
Proper installation ensures safety and peak performance of your cold plunge tub.
4. What is the difference between permanent and portable cold plunge tubs?
Here’s a quick comparison of permanent and portable cold plunge tubs:
| Feature | Permanent Cold Plunge Tubs | Portable Cold Plunge Tubs |
|---|---|---|
| Setup | Requires professional installation | Easy DIY setup |
| Flexibility | Fixed location | Can be used indoors or outdoors |
| Cost | Higher upfront costs | Affordable with low setup costs |
| Maintenance | Long-term durability with minimal moves | Requires more frequent setup adjustments |
Portable tubs are ideal for renters or those new to cold plunging, while permanent setups suit dedicated enthusiasts.
5. Are cold plunge tubs worth the investment?
Yes, cold plunge tubs are worth the investment for their long-term health and recovery benefits. Here’s why:
- Durability – High-quality models like cedar wood tubs last years with proper maintenance.
- Cost-effectiveness – Regular use reduces reliance on other recovery tools or therapies.
- Health benefits – Consistent use improves both mental and physical performance.
Investing in a cold plunge tub is ideal for anyone serious about recovery and overall wellness.
6. Can I DIY a cold plunge tub?
Yes, you can create a DIY cold plunge tub. Popular options include:
- Using a stock tank or large barrel with added insulation
- Repurposing an old bathtub
- Setting up in a natural water source, such as a stream or pond
- Filling heavy-duty storage containers with ice water
Ensure proper temperature control and sanitation for a safe and effective DIY setup.
7. How do you maintain a cold plunge tub?
To maintain your cold plunge tub, follow these tips:
- Regularly clean and replace filters to keep the water sanitary.
- Monitor water chemistry and adjust as needed.
- Drain and refill the tub every 2 to 4 weeks depending on use.
- Inspect and clean the pump and chiller components periodically.
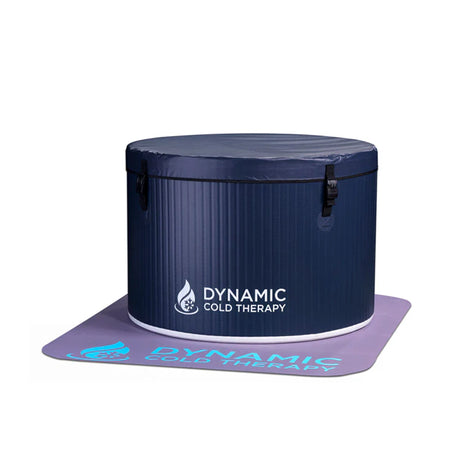
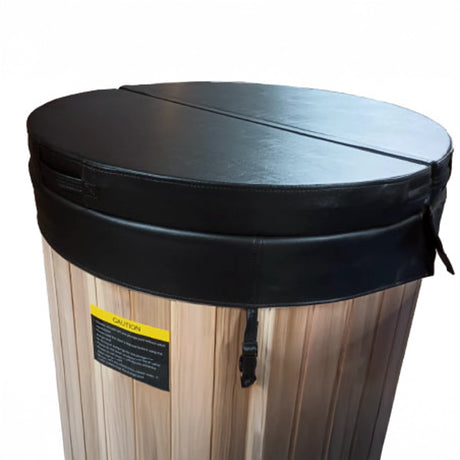
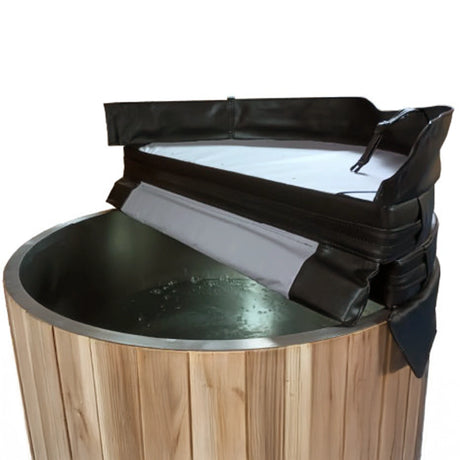
- Cover the tub when not in use to prevent debris and contamination.
Consistent maintenance extends the lifespan of your tub and ensures safety during use.
8. Where should I install my cold plunge tub: indoors or outdoors?
Both options have unique advantages:
- Indoors: Offers privacy, climate-controlled environment, and easier access, but requires proper ventilation to manage humidity.
- Outdoors: Natural aesthetics, fewer space limitations, and simpler drainage, though it's exposed to weather and potential debris.
Choose a location based on your space, access, and personal preferences.
Bring Your Cold Plunge Vision to Life
Installing a cold plunge tub isn’t just about setting up a new piece of equipment—it’s about creating a sanctuary for recovery, performance, and overall health. Whether you’re easing sore muscles after a tough workout, building mental toughness, or simply seeking a refreshing way to boost your wellness routine, the right cold plunge setup can transform how you care for both your body and mind.
From the detail-driven permanent installations to the flexible, space-saving portable models, there’s a solution for everyone as outlined in our blog 'Everything You Need to Know About Cold Plunges'. Even if you’re on a budget, with a little creativity, those DIY options can still deliver the same revitalizing benefits. No matter the path you choose, the end result is the same: a cold plunge experience tailored to your goals and lifestyle.
Ready to take the next step and make your cold plunge dreams a reality? At Blue Sky Fitness Supply, we provide the tools you need to bring your setup to life. From state-of-the-art cold plunge tubs to portable systems designed for ultimate convenience, we’re here to help you elevate your wellness journey.
Explore our selection today and let Blue Sky Fitness Supply guide you toward the perfect solution for your recovery and health goals. Every investment in your cold plunge setup is an investment in your performance, resilience, and well-being. Let your journey to a better, healthier you start now.
Because taking the plunge isn’t just about stepping into cold water—it’s about stepping into a better version of yourself.